Building the table
Once the Query Definition is ready, build the Tree Grid View using the following procedure:
-
Create a new Tree Grid View item and specify a unique Name and select an existing Query Definition to be used.
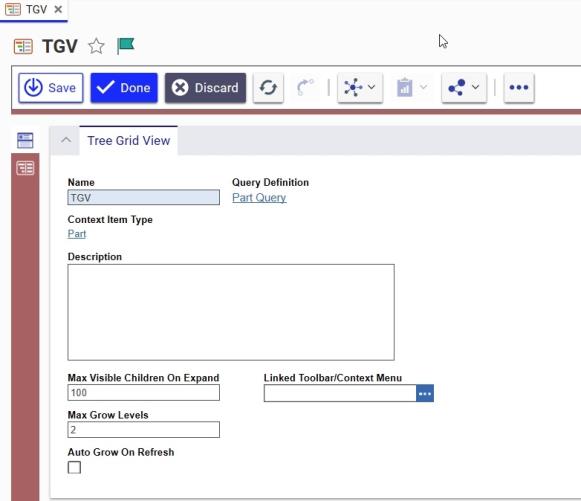
Figure 3.
Note: The Name of the Tree Grid View is automatically used as the name for the RelationshipType generated later.
-
Select the Auto Grow on Refresh checkbox to keep the Tree Grid View expanded to the maximum number of grow levels when you do a refresh.
-
After saving the item, click the Show Editor button on the left sidebar to go into Grid-Editing mode.
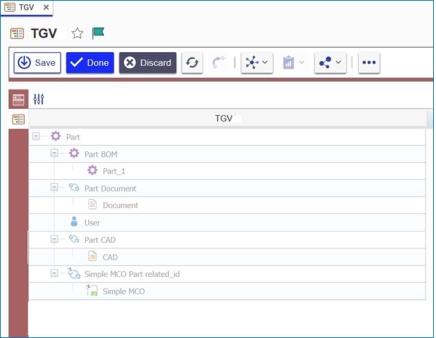
Figure 4.
-
Right-click on each element that should display data in the grid and select Map element.
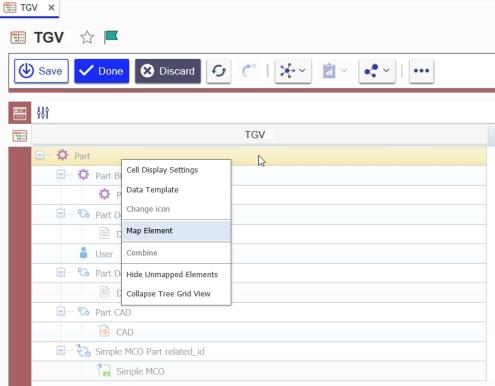
Figure 5.
-
Right-click the column header and click Add New Column.
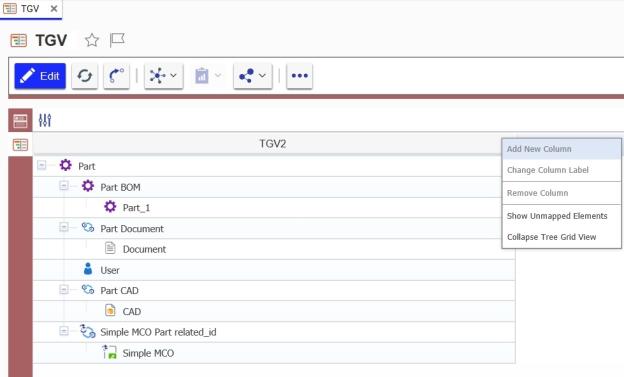
Figure 6.
-
Right-click the new column, click Change Column Label, and then call it Name.
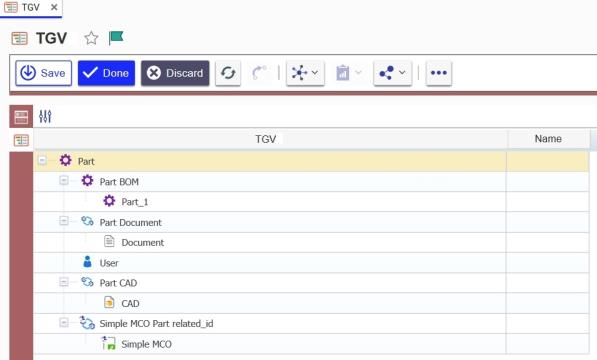
Figure 7.
-
Add two more columns named State and Created On.
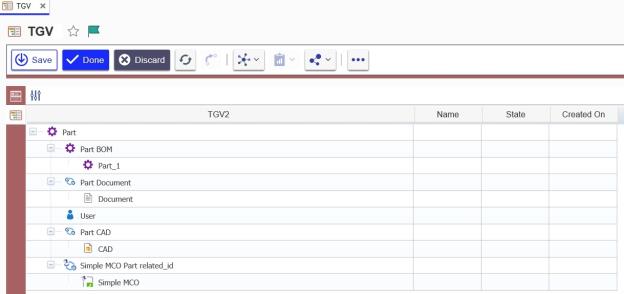
Figure 8.
-
Save the Tree Grid View.